

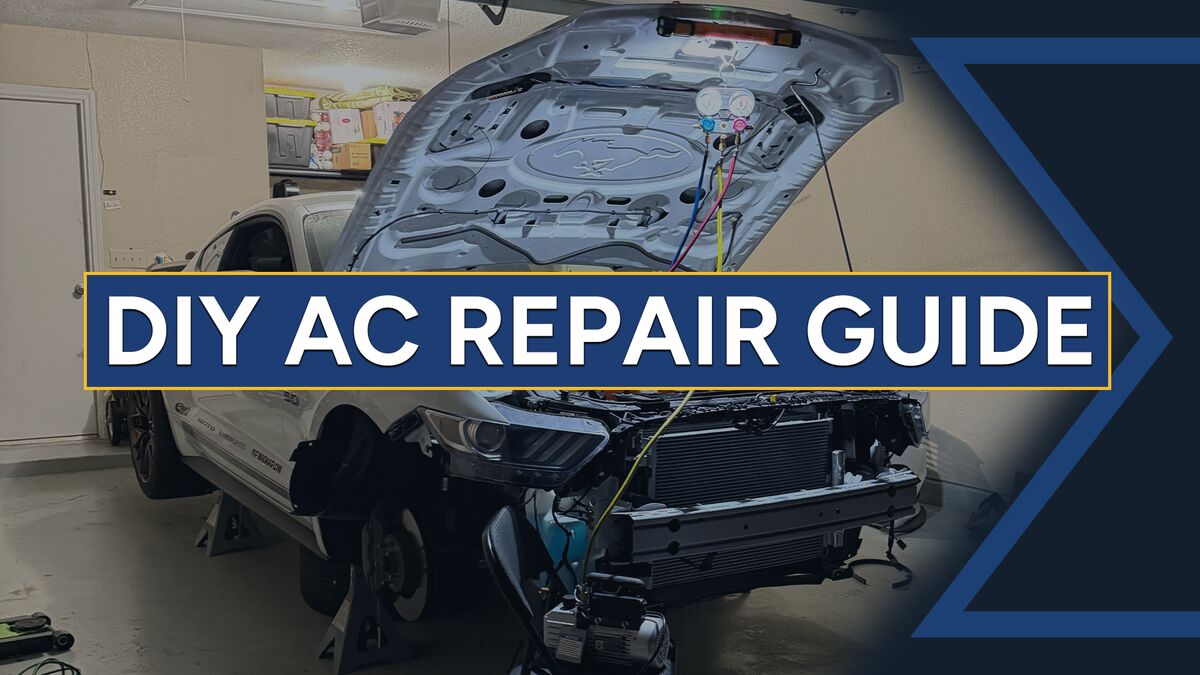
This guide is designed to help you understand, diagnose, and repair your vehicle’s air conditioning system. Throughout the guide, we cover common myths and pitfalls most owners encounter, explain how AC systems function, and walk you through the repair process step by step. I recently completed this exact repair on my 2016 Ford Mustang GT California Special, and you can follow along with the videos throughout the guide for a more hands-on visual approach.
Before you reach for that miracle-in-a-can at your local auto parts store or spend thousands on a diagnostic or repair, let’s cover some steps you can take to understand what went wrong and potentially fix it yourself, at home. Let’s get started!
Why the Myth of “Just Recharge It” and AC-in-a-Can Kits Make Things Worse
It’s easy to reach for the cheapest or seemingly most intuitive option when dealing with car repairs, and for some, that is an approach has worked for decades. However, air conditioning systems are fairly complex and require proper diagnostics and repair to function correctly.
The first thought might be a system recharge. You’ve probably heard it before. Your air conditioning system has a “small” leak, so if you “top it off” with refrigerant (or as some say, “Freon”, which is actually a discontinued brand name) every now and then, it should work fine.
The problem with this approach is twofold.
First, AC systems are in a closed loop and do not consume refrigerant, so if you have a leak, adding more will only push the problem down the road. Secondly, the refrigerants used in most vehicles cause substantial environmental harm if released freely, which is why it is illegal to intentionally release them into the atmosphere.
According to the California Air Resources Board (CARB), “Just the gas contained in one single 12-ounce container (of R134a) is equivalent to the carbon dioxide (CO2) emissions from burning 150 gallons of gasoline!”
How Automotive AC Systems Work
To understand how to repair an AC system, first let’s look at how it works.
Automotive air conditioning systems can be broken down into a common list of parts that work in unison to remove heat from the cabin and deliver cool air through the vents. A common misconception is that AC systems generate cold air; however, their primary function is to absorb and remove heat from the cabin. This is done with refrigerant.
Once heat is absorbed into the refrigerant in your cabin, it gets pulled through and compressed into a high-pressure gas by the compressor. This high-pressure gas is then pushed through the condenser, which, as the name implies, creates ideal conditions for the gas to condense into a liquid. This scientific process also releases heat during the condensation state change via fans or airflow from the front of the vehicle.
After your refrigerant returns to a liquid state, it passes through a dryer that removes residual air and moisture.
It then passes through the expansion valve, which restricts flow. The pressure drop created by this process sets the refrigerant up for another state change in the evaporator. As the low-pressure liquid refrigerant moves through the evaporator, it absorbs heat and evaporates back into a gas, leaving behind condensation that usually drains under the vehicle.
An air conditioning system operates in a closed loop, so all the refrigerant is reused throughout the process. It should never need to be “topped off” as long as the system remains leak-free. This refrigerant’s thermodynamic properties are key to the “how” behind an AC system’s function. Pretty neat, huh?
What Tools Will You Need?
As you’re repairing the AC system on your vehicle, you will need a few common hand tools to complete the job properly.
- A set of wrenches and/or sockets
- Screwdrivers and pliers
- Safety glasses and gloves
- Floor jack and jack stands
- Shop rags or paper towels
You will need a few more specialized tools while working on an AC system. These tools can all be purchased or rented from a local auto parts store.
- Set of manifold gauges
- Vacuum pump
- Refrigerant recovery machine, unless taken to a mechanic separately
- Leak detector and UV dye
- A can tap to connect the refrigerant can to your vacuum line
- Specialty removal tools, such as line disconnect or Schrader valve replacement tools
Check out the video below to see the tools I used for my repair.
Diagnosis, Repair Plan, and Disassembly
If your AC system suddenly stops working, it’s important to know what steps you should take to diagnose what’s wrong. Keep in mind that AC systems operate with highly compressed refrigerant, so safety is important. If you feel overwhelmed or unsafe, take your vehicle to a trustworthy mechanic.
To identify the issue with a system, first look at the symptoms. Intermittent cooling? Weak airflow? Strange sounds? No cold air at all? All of these problems can help you identify what’s wrong with your system and remove some of the guesswork about where to look. Let’s cover some common symptoms and their causes.
Weak airflow or cooling
An easy place to start is the cabin air filter. Sometimes filters can become clogged or blocked, affecting airflow from your vents. It’s also recommended to check fuses or relays connected to the blower motor. An electrical issue can cause weak or intermittent airflow.
Audible grinding, whining, clicking, or other unusual sounds
It’s quite common for components like the compressor, belts, or pulleys to fail after many thousands of miles on the road. When these parts fail, they sometimes emit unusual sounds that can help you identify the problem with the system. Try turning your AC compressor off and on while listening for anything out of the ordinary. Make sure your compressor turns on and that the clutch engages when you press the AC button.
Low or empty refrigerant in the system
Another very common issue is a refrigerant leak. As parts age and are used, flexible components like rubber gaskets tend to fail, leading to leaks. If your system loses refrigerant due to a leak, it limits its ability to cool and can also introduce air and moisture into the system, further degrading performance. You can introduce UV dye through the low-side port to help locate the leak.
If your problem is not easily diagnosable, it is advisable to bring your vehicle to an expert who can help locate the source of the issue. Even if you intend to repair the vehicle yourself, a mechanic can help remove any remaining refrigerant from the system and advise you on which parts need repair. Sometimes another pair of eyes can help us see something we never noticed before! Once you’ve verified the source of the problem and properly evacuated the system of refrigerant, you can begin disassembling the system as needed to repair or replace the problematic components.
Pro Tip: If you disassemble your air conditioning system because of a broken part like a compressor, be sure to use a flush or solvent to clean out the remainder of the system before rebuilding. If metal shards remain in the system after repair, they can damage the new components.
Reassembly, Vacuum, and Recharge
Once you are ready to refill your system and feel that cold air again, there are a few considerations before, during, and after the reassembly process.
Before refilling with refrigerant
You’ve taken apart your car, replaced the broken parts, and have the appropriate type and amount of refrigerant in hand. Before adding it to your system, locate the owner’s manual to determine how much refrigerant the system requires, as well as the type and quantity of oil to add. This number may depend on what parts you replaced, as each component holds some oil within the system. Ensure any replaced gaskets have been coated in the correct oil as well. Check fittings and ensure proper torque specs across all connections. Make sure electrical plugs and connections are all reconnected.
You will need to use a vacuum pump to evacuate any air or moisture from the system before adding new refrigerant. These can be purchased or rented at many local auto parts stores or online. When your system is under vacuum, the reduced pressure lowers the boiling point of water, allowing the pump to remove moisture.
As you are adding refrigerant
Be sure to replace any oil you removed during disassembly and add any required additional oil to the system. Using a manifold gauge, monitor system pressures to ensure proper operation. You can watch the compressor clutch to see whether it kicks on once the system has the minimum refrigerant capacity added. Once you have added the entire required amount of refrigerant to the system, check the temperature of the air coming from the vehicle’s vents to confirm the process was successful.
After adding refrigerant
Periodically check for leaks with a UV flashlight along common problem areas or connections throughout the system. Keep your condenser clean and ensure belts and filters are replaced according to the regular maintenance schedule.
If You Made it This Far, Your Air Should Be Ice Cold!
If you’ve followed this guide correctly, you’ll be enjoying cool air on the warmest days once again. Don’t forget to keep safety at the top of your list whenever working on your vehicle yourself, and reach out to a professional if repairs are beyond your skill set.
Visit our Maintenance and Repair Hub for expert-backed articles to help you make smart maintenance decisions with confidence.